How to choose a painter in Geelong: A homeowner’s guide

Search “painters Geelong” and you’ll get no shortage of results which is great for choice, but not much help if you don’t know what actually separates a good painting job from a mediocre one until it’s already on your walls. Whether you’re after a single-room refresh or a full exterior repaint, here’s what’s worth knowing before you book anyone.

Start With What the Quote Actually Covers

Two quotes for “the same job” can look wildly different once you check what’s actually included. A proper quote should be clear about whether surface preparation is included (not just painting over what’s already there), how many coats are planned, what paint brand and quality level is being used, and whether things like moving furniture, protecting floors, or cleaning up afterward are part of the price. A quote that’s noticeably cheaper than others is often cheaper because it’s leaving something out usually prep rather than because it’s simply better value.

Ask About Preparation Before You Ask About Paint

It’s tempting to focus a conversation with a painter on colour and paint brand, but the truth is that preparation is what determines how long a paint job actually lasts. A rushed or skipped prep stage patching, sanding, cleaning, priming where needed is the single biggest reason paint jobs fail early, regardless of how good the paint itself is. A painter who talks you through their prep process, rather than glossing over it, is generally a good sign.

Check for Insurance, Experience, and Local Knowledge

A few practical things are worth confirming before committing to any painter:

  • Public liability insurance, so you’re covered if something goes wrong on the job
  • Experience with your type of property an older weatherboard home, a modern render finish, and a commercial fit-out all call for different approaches
  • Local knowledge of Geelong’s conditions, since coastal exposure, older housing stock, and heritage considerations all affect what paint systems and preparation actually work well here
  • References or examples of previous work, ideally similar in scope to what you’re planning

Understand What You’re Actually Paying For

Painting isn’t just labour and paint it’s the judgement to prepare a surface properly, choose the right products for the situation, and apply them in a way that holds up. Two painters using the same brand of paint can produce very different results depending on prep quality, number of coats, and application technique. When you’re comparing quotes, it’s worth asking what’s driving the price difference rather than assuming the cheapest option is simply a better deal.

Questions Worth Asking Before You Book

A few honest questions tend to separate painters who know what they’re doing from those cutting corners: How do you handle surface preparation? What’s included in the quoted price, and what would cost extra? What paint brand and product line do you use, and why? How long do you expect the job to take, and what’s the plan if weather affects an exterior job? A painter who answers these clearly and specifically, rather than vaguely, is usually one worth trusting with the job.

Why This Matters More Than It Seems

A paint job is one of those things where the difference between “fine” and “excellent” isn’t always obvious on day one it becomes obvious two or three years later, when one job still looks sharp and another is already showing cracks, peeling, or fading. Choosing the right painter upfront, based on process and transparency rather than just price, is what determines which of those two outcomes you get.

Planning a painting project in Geelong? Get in touch to talk through your job, what it would involve, and get a clear, detailed quote.

Choosing the right exterior paint system for Geelong’s climate


Once you’ve decided it’s time to repaint the outside of your home, the next question matters just as much as the decision itself: what paint system is actually going to hold up here?

Geelong’s climate is harder on exterior paint than most homeowners realise, and the wrong product choice can mean redoing the job in five years instead of fifteen. Here’s what actually makes the difference.

Salt Air, UV, and Timber Movement: The Three Things Working Against Your Paint

Coastal and near-coastal areas around Geelong, the Bellarine, Surf coast, and anywhere that gets a sea breeze deal with salt-laden air that accelerates the breakdown of lower-quality paint films, particularly on north- and west-facing walls that also cop the most direct UV exposure. On top of that, a lot of Geelong’s housing stock is weatherboard, which expands and contracts with humidity and temperature. A paint system that isn’t flexible enough to move with the timber will crack at the joins long before the rest of the coat wears out. Any paint chosen for a Geelong exterior needs to handle all three of these at once, not just one.

Why the Paint Brand and Grade Actually Matters

It’s tempting to think paint is paint, but the gap between a budget exterior product and a proper coastal-rated system is significant:

  • Flexible, UV-stable acrylic formulations move with weatherboard as it expands and contracts, rather than cracking at the seams the way rigid, lower-grade paints do
  • Marine-grade or coastal-rated systems are specifically formulated to resist salt and UV breakdown, and are worth the extra cost anywhere within a few kilometres of the water  the price difference is small compared to repainting again a decade early
  • Higher-quality primers matter as much as the topcoat, especially on bare or repaired timber, since a weak primer undermines even a good topcoat sitting on top of it
  • Colour choice affects paint life, not just looks — darker colours absorb more heat and tend to fade and break down faster under Geelong’s summer sun than lighter, more reflective tones

Matching the System to the Surface

Not every exterior surface needs the same approach. Weatherboard needs a paint system built for flexibility and moisture resistance, since timber is the most reactive surface to temperature and humidity swings. Render and masonry behave differently they’re more prone to issues like efflorescence (salt deposits pushing through from within the wall) and need a paint system that lets the surface breathe rather than trapping moisture behind an impermeable film. Getting this match wrong is a common reason exterior paint jobs fail early even when the workmanship itself was fine the product simply wasn’t right for the surface.

What Goes Into Getting the System Right

  1. Assessing the surface type and exposure — weatherboard versus render, coastal versus more sheltered, sun-facing versus shaded
  2. Choosing a paint system rated for that specific combination, rather than a generic one-size-fits-all product
  3. Priming appropriately, particularly on bare timber, repaired sections, or masonry prone to moisture issues
  4. Applying the correct number of coats for the product being used, since under-coating is a common shortcut that shortens the paint’s working life
  5. Allowing proper cure time between coats, especially important in Geelong’s more humid winter months

Why This Decision Is Worth Getting Right

The paint system you choose has more influence over how long an exterior job lasts than almost any other single factor more than the painter’s technique, and certainly more than the difference in upfront cost between a budget product and a properly rated one. Getting this right the first time means years of extra life out of the paint job, and avoiding the cost and disruption of doing it all again sooner than you should have to.

Planning an exterior repaint in Geelong? Get in touch to talk through your home’s exposure and surface type, and the right paint system for your situation.

Interior painting in Geelong: our guide to getting a finish that lasts

Interior painting sounds simple on paper. You pick a colour, roll it on, done. In practice, the difference between a paint job that looks sharp for years and one that starts looking tired within twelve months almost always comes down to what happens before the paint goes on, and the quality of the finish itself. If you’re planning to repaint a room, a few rooms, or your whole home, here’s what actually separates a good result from an average one.

It Starts With the Walls, Not the Paint

No paint, however good the brand, can hide a poorly prepared surface. Small cracks, nail holes, old touch-up patches, uneven texture from previous coats — all of it becomes more visible once fresh paint goes on, not less. Proper preparation typically involves:

  • Patching and smoothing any cracks, holes, or damaged plaster
  • Sanding back rough patches or old drips so the surface is even
  • Cleaning walls of dust, grease, and marks (kitchens and areas near light switches are common culprits) so the new paint actually adheres properly
  • Priming where needed — over patched areas, bare plaster, or when making a big colour change, so the final coat goes on true to colour and doesn’t need three coats to cover

This stage rarely gets much attention because it’s not the “exciting” part of a repaint, but it’s the single biggest factor in how long the finish holds up.

Choosing the Right Finish for Each Room

Paint finish (the sheen level) matters just as much as colour, and different rooms benefit from different finishes:

  • Living areas and bedrooms generally suit a low-sheen or matte finish, which gives a soft, even look and hides minor wall imperfections well
  • Kitchens and bathrooms do better with a satin or semi-gloss finish, since it’s more washable and stands up to moisture and splashes
  • Hallways and high-traffic areas benefit from a slightly tougher, more wipeable finish, since these walls tend to pick up scuffs and marks over time
  • Feature walls are a great place to experiment with a bolder colour or slightly different finish, without the commitment of doing an entire room in it

Colour Choice: Where a Lot of Repaints Go Wrong

Paint colour looks different in every room, depending on natural light, artificial lighting, and the colours of flooring, furniture, and adjoining rooms. A colour that looked perfect on a swatch or in a friend’s north-facing living room can read completely differently in a south-facing room with different light. This is where testing large sample swatches directly on your own walls  and viewing them at different times of day makes a real difference, and why a colour consultation before committing to a whole-house repaint can save a lot of second-guessing (and repainting) later.

What a professional interior repaint typically involves

  1. An initial walkthrough, discussing colours, finishes, and any problem areas (cracks, water stains, uneven surfaces)
  2. Preparation work — patching, sanding, cleaning, and protecting floors, furniture, and fixtures
  3. Priming, where the surface or colour change calls for it
  4. Painting, usually two coats for full, even coverage and a true-to-swatch finish
  5. A final walkthrough, checking edges, trims, and finish quality before calling the job complete

Why it’s worth doing properly

A well-executed interior repaint does more than freshen up a room, it can genuinely change how a space feels to live in, and it’s one of the more cost-effective ways to update a home’s look without a full renovation. The trade-off for cutting corners on prep or rushing the finish is a paint job that shows every flaw within the first year, rather than one that looks genuinely sharp for five or more.

Planning an interior repaint in Geelong? Get in touch to talk through your space, colours, and what the job would involve.

Wallpaper Installation in Geelong: Why It Pays to Get It Right

Wallpaper has made a real comeback in recent years and it’s not hard to see why. A well-chosen wallpaper can do things paint simply can’t: bold pattern, texture, depth, a genuine feature moment in a room. However wallpaper is also far less forgiving than paint. A slightly uneven wall, a rushed seam, or the wrong adhesive for the paper type can turn an exciting design choice into a frustrating, visible mistake that’s expensive to undo.

If you’re considering wallpaper for a room in your home, here’s what actually goes into getting it right.

Why Wallpaper Installation Is Different From Painting

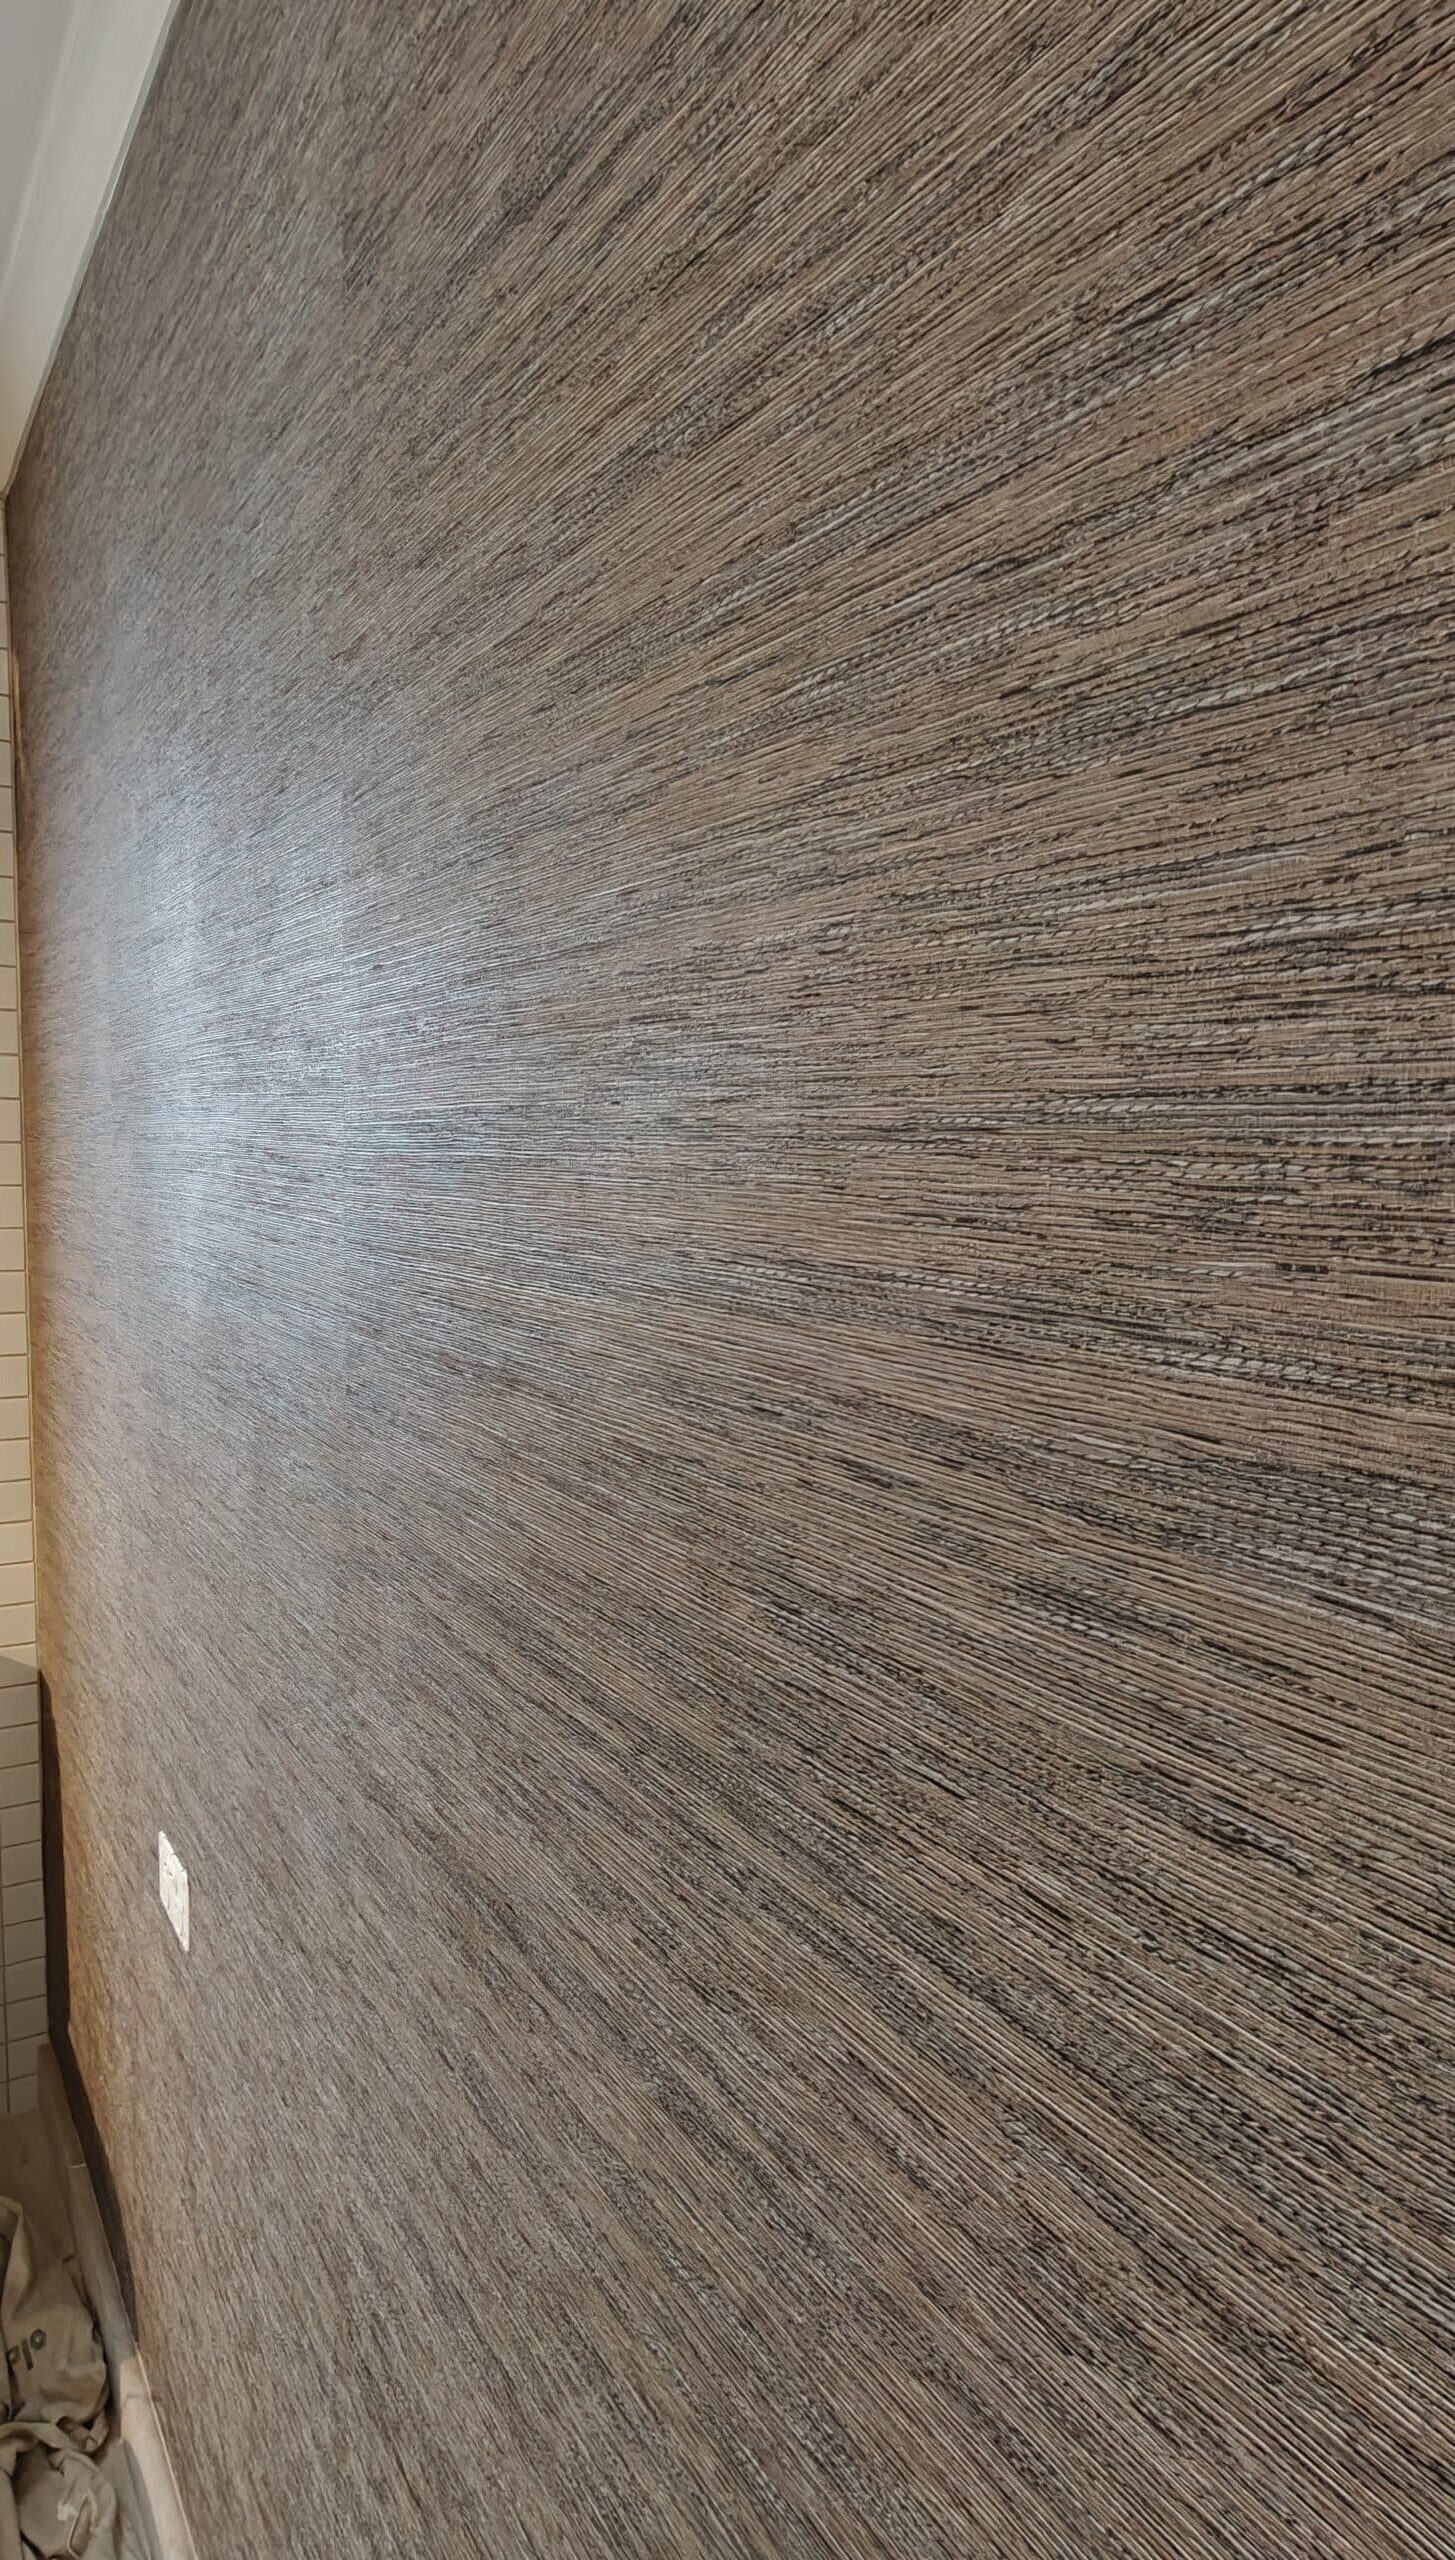
Paint is fairly forgiving, a slightly uneven wall gets smoothed out under a coat or two, and small imperfections in technique are easy to touch up. Wallpaper doesn’t offer that same margin for error. Every bump, dent, or old patch in the wall telegraphs straight through the paper once it’s up. Seams need to line up precisely, especially with patterned or repeat-print designs, or the mismatch becomes the first thing anyone notices. And different wallpaper types including vinyl, non-woven, textured, grasscloth, murals which each behave differently during installation and need different adhesives, techniques, and drying conditions.

This is why wallpaper is one of those jobs where professional installation tends to make the biggest visible difference between “nice” and “wow.”

Preparing the Wall Properly

Good wallpaper installation is mostly about what happens before the paper ever touches the wall.

That usually means:

  • Repairing any cracks, holes, or old damage so the surface underneath is smooth and even
  • Removing old wallpaper or flaking paint rather than papering over it, which almost always causes problems later
  • Sizing the wall (applying a primer or sealer designed for wallpapering) so the paper adheres properly and can be removed cleanly in future without damaging the wall underneath
  • Checking the wall for moisture or ventilation issues, particularly in bathrooms or kitchens, since these affect which wallpaper types will actually last in that space

Skipping this stage is the single most common reason wallpaper installations fail early like bubbling, peeling seams, or patches lifting within a year or two almost always trace back to inadequate wall prep.

Choosing the Right Wallpaper for the Room

Not every wallpaper suits every space. A powder room or feature wall in a low-traffic area gives you much more freedom to go bold with a striking pattern, a mural, a textured grasscloth finish. High-moisture areas like bathrooms need a wallpaper (and adhesive) rated for that environment, or it won’t hold up. Hallways and areas near young kids or pets often do better with a more durable, wipeable vinyl finish rather than a delicate textured paper.

Pattern repeat is also worth thinking about upfront. A large-scale pattern can mean more wastage and more careful planning around seams, especially in a smaller room, while a smaller or non-directional print is generally more forgiving to install and blend across a wall.

What Installation Day Actually Involves

A typical wallpaper installation runs through a few key stages:

  1. Final wall prep and priming, confirming the surface is ready
  2. Measuring and planning the layout, working out where seams will fall and how the pattern will align, especially around windows, doors, and corners
  3. Hanging the paper, working methodically to keep seams tight and pattern alignment consistent across the wall
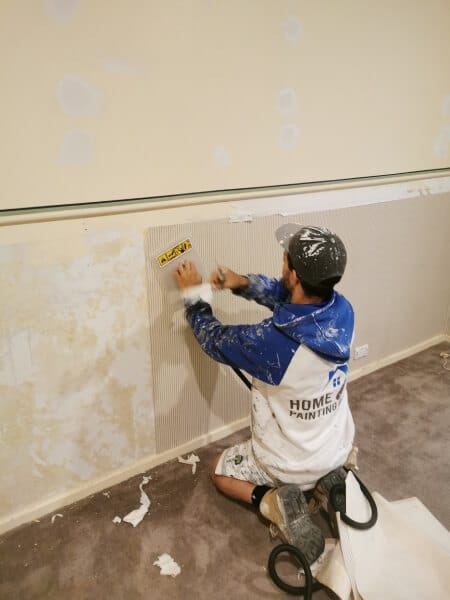
  4. Trimming and finishing around skirting boards, architraves, and power points for a clean, professional edge
  5. A final check, making sure everything is properly bonded and there’s nothing to fix before the room is handed back

Depending on the size of the room and the paper chosen, this can take anywhere from a day to several, particularly for full-room installations or large-pattern designs that need careful matching.

Is Wallpaper Worth It?

For the right room, wallpaper delivers a level of visual impact that paint alone rarely matches, it’s a genuine way to make a space feel considered and finished rather than just “painted.” The trade-off is that it’s less DIY-friendly than painting, and mistakes are far more visible and costly to fix. Getting the wall prep, paper choice, and installation technique right the first time is what separates a wallpapered room that looks incredible for years from one that needs redoing within twelve months.

Thinking about wallpaper for a room in your Geelong home? Get in touch to talk through your space, the options that would suit it, and what installation would involve.

Commercial & Office Painting in Geelong: What Business Owners Need to Know

A fresh coat of paint does more for a business than most owners expect. It’s often the first thing a client, tenant, or new hire notices when they walk through the door and a tired, scuffed, or outdated office can quietly undercut the professional image you’ve worked hard to build. Whether you’re refreshing a single office, repainting a retail fit-out, or maintaining a larger commercial property, painting a working space comes with a different set of considerations than painting a home.

Here’s what to think about before booking a commercial painting job in Geelong.

Commercial Painting Isn’t Just “Bigger Residential Painting”

The biggest difference between painting a home and painting a business isn’t scale it’s disruption. A homeowner might be mildly inconvenienced by painters in the house for a few days. A business, on the other hand, has staff who need to work, customers who need to walk through the door, and operations that can’t simply pause.

A good commercial painting job is planned around your business, not the other way around. That usually means:

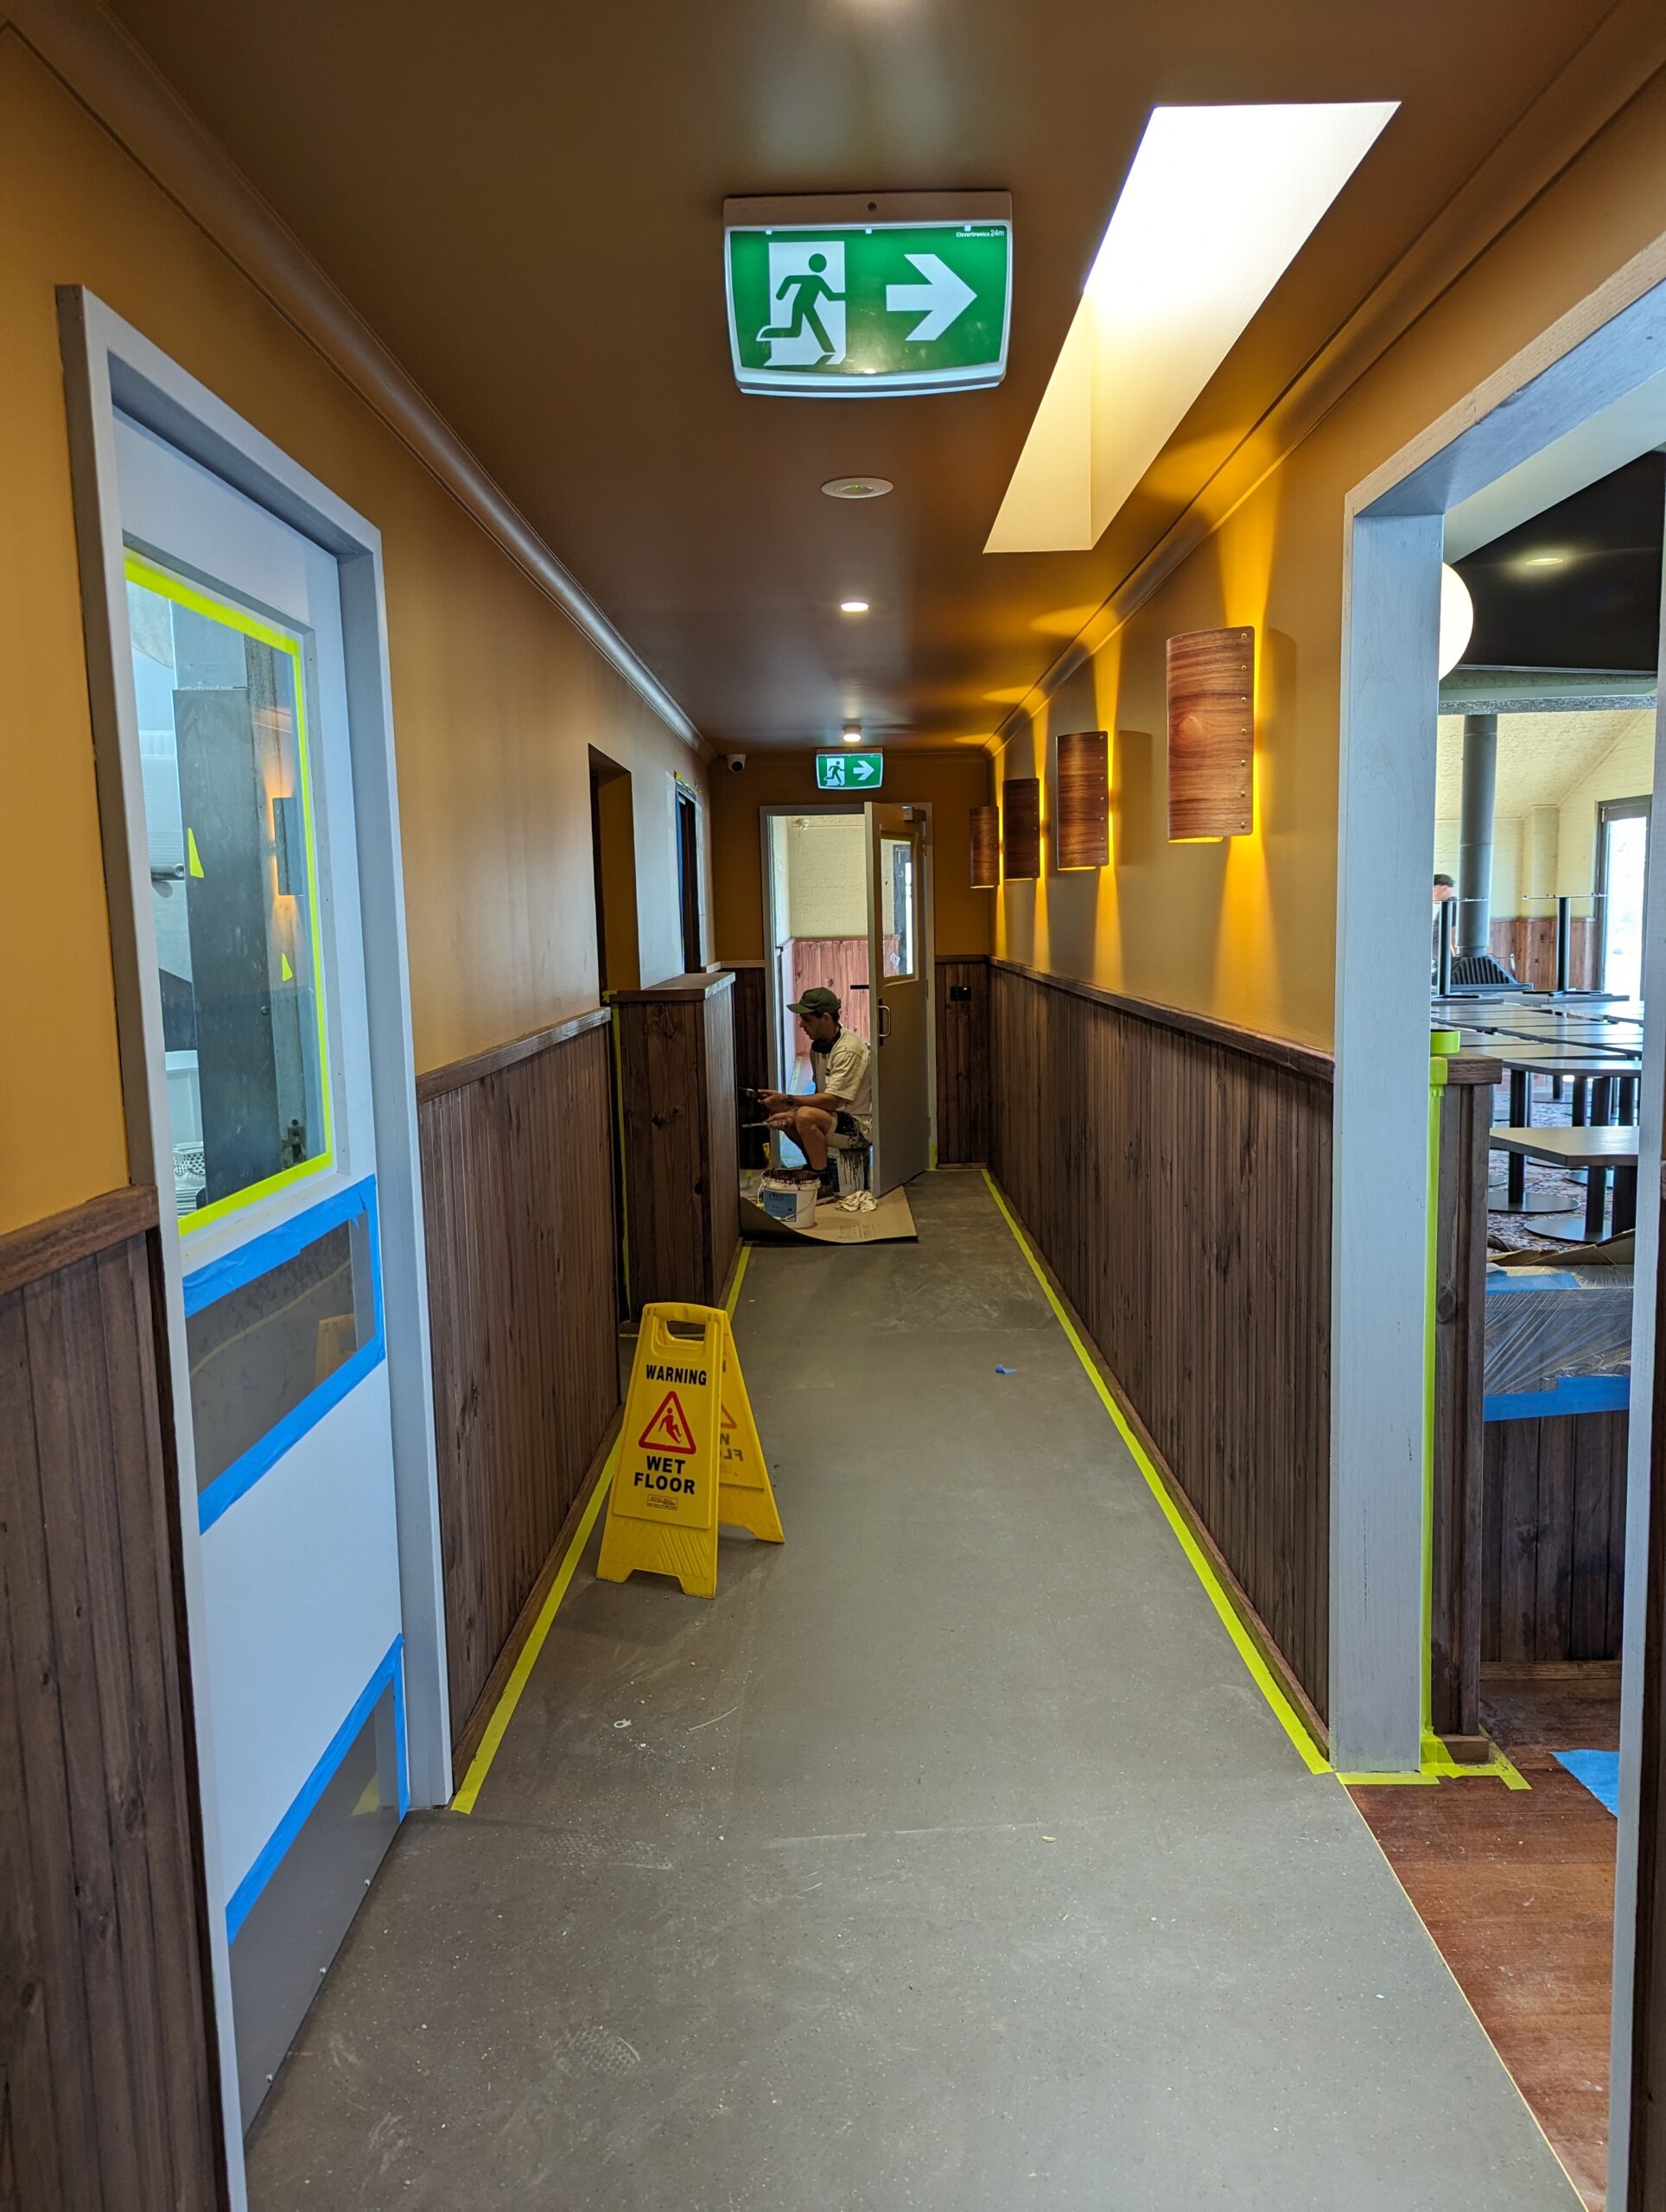
  • Scheduling around trading hours — early mornings, evenings, or weekends, so there’s minimal or zero impact on staff and customers
  • Working in stages rather than shutting down an entire space at once, especially for retail or hospitality fit-outs that need to stay open
  • Low-odour, fast-drying paints so occupied areas aren’t left smelling of fresh paint for days, and rooms can be back in use quickly
  • Clear communication and timelines, so you know exactly what’s happening and when. No surprises, no open-ended jobs

Choosing the Right Paint for a Commercial Space

Residential paint and commercial-grade paint aren’t always the same thing, and the right choice depends heavily on how a space is used.

High-traffic areas like reception areas, hallways, stairwells, shared kitchens always  benefit from washable, scuff-resistant finishes that hold up to daily wear without needing a repaint every year or two. Areas with a lot of natural light or glare, like open-plan offices with large windows, often do better with a matte or low-sheen finish that reduces glare under fluorescent or LED lighting. And for medical, hospitality, or food-service spaces, there may be specific requirements around washability, mould resistance, or compliance that a residential-grade paint simply won’t meet.

This is also where colour choice starts to matter for reasons beyond aesthetics. Office colour schemes can influence how a space feels to work in calmer, muted tones in areas meant for focus, and slightly bolder accents in spaces meant to feel energetic or welcoming, like a reception or client-facing area. If you’re not sure where to start, a colour consultation before the job begins can save a lot of second-guessing later.

What the Process Usually Looks Like

For most commercial jobs, the process runs something like this:

  1. A walkthrough and quote — understanding the space, its usage patterns, and any constraints (opening hours, access, existing branding or colour requirements)
  2. Surface preparation — commercial spaces often have existing damage (scuffs, marks, patched walls from old signage or fittings) that needs proper prep before painting for a finish that actually lasts
  3. Scheduling around your business — agreeing on a timeline that fits your operating hours, not the other way around
  4. The paint job itself, done in a way that keeps disruption to a minimum
  5. A final walkthrough, so you can see the finished result and raise anything before the job is signed off

Why It’s Worth Getting Right

A commercial repaint is an investment in how your business presents itself to clients walking in the door, to staff who spend their working hours in the space, and to anyone forming a first impression of what you do. A rushed or poorly planned paint job can end up costing more in the long run, whether that’s from paint that doesn’t hold up to daily use, downtime that hits harder than expected, or a finish that just doesn’t do the space justice.

If you’re weighing up a repaint for an office, retail space, or commercial property in Geelong, it’s worth having a conversation early even if you’re not ready to book anything in yet. Getting the scheduling, paint selection, and colour approach right from the start makes for a smoother job and a better result.

Thinking about repainting your office or commercial space in Geelong? Get in touch to talk through what your space needs and how we’d approach the job around your business.

Is Spray Painting Your Kitchen Cabinets Worth It?

If your kitchen is otherwise in good shape but the cabinetry is looking tired, dated, or just not “you” anymore, a full replacement isn’t always the only option. Spray painting your existing cabinets is one of the most cost-effective transformations available.

What spray painting actually means

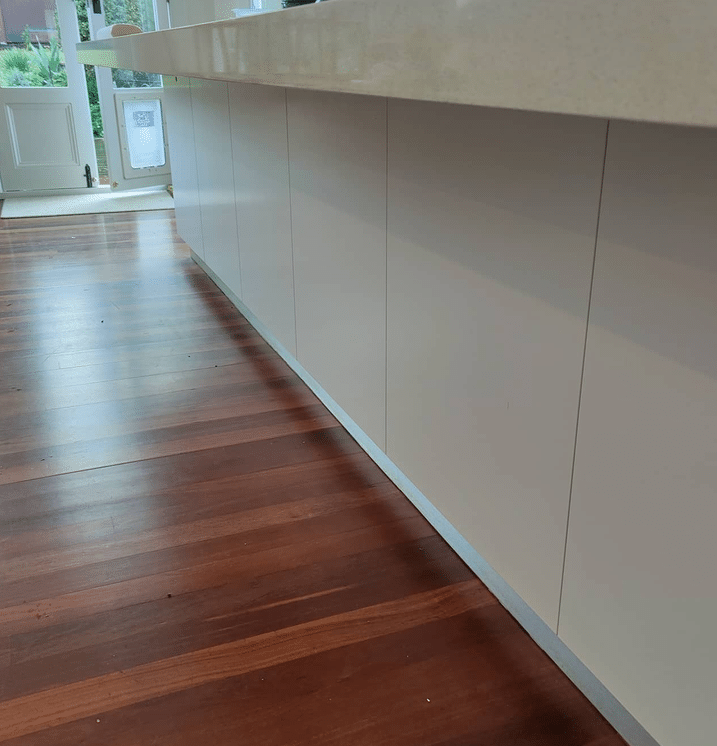
This isn’t a brush-and-roller job. Fine finish spray painting uses professional airless or HVLP spray equipment to apply an ultra-smooth, factory-style coating the kind of flawless, even finish you simply can’t achieve by hand, regardless of how careful the brushwork is.

The process typically involves removing doors and drawer fronts, thorough cleaning and degreasing (kitchen cabinets accumulate more grease and grime than almost any other surface in the home), sanding or deglossing to help the new coating bond properly, priming, and then multiple sprayed topcoats.

The honest cost comparison

A full kitchen renovation new cabinet boxes, doors, benchtops is a major investment, often running into tens of thousands of dollars and weeks of disruption. Spray painting your existing cabinetry typically costs a fraction of that, with most jobs completed within a few days, and no need to touch your existing layout, plumbing, or benchtops at all.

The trade-off is about what it can and can’t achieve: spray painting transforms the look of your cabinets colour, finish, consistency but it doesn’t change their shape, layout, or add storage. If your kitchen’s actual problem is a lack of space or poor functionality, painting won’t solve that. If the problem is simply “this colour and finish doesn’t suit us anymore,” it’s often the smartest money you can spend on a kitchen.

What makes a cabinet respray last

Not every “kitchen cabinet paint job” holds up the same way, and the difference almost always comes down to preparation and product, not the paint colour itself.

Degreasing matters more than people expect. Kitchen surfaces carry an invisible layer of cooking oil residue, and painting over it without proper degreasing is one of the most common reasons a cabinet respray fails early the new coating simply won’t bond properly to a greasy surface, however clean it looks.

The right coating system matters. Cabinets need a genuinely hard-wearing, washable finish that can handle daily contact hands, cloths, the occasional bump from cookware without marking or chipping. This is a different product category to a standard wall paint, and it’s worth confirming with whoever’s doing the work that they’re using a proper cabinet-grade coating.

Hardware and hinges are usually worth replacing at the same time. It’s a small additional cost that makes a freshly painted kitchen look genuinely finished rather than “painted over,” since old, worn handles and hinges are often the first thing that gives away an otherwise beautifully resprayed kitchen.

What to expect during the job

Cabinet spraying is usually done as an off-site or garage/workshop process for the doors and drawer fronts specifically  they get removed, labelled, and sprayed in a controlled environment away from kitchen dust while the fixed cabinet boxes are typically sprayed in place with the surrounding area carefully protected. Expect your kitchen to be at least partially unusable for a few days, and plan meals accordingly.

Is it right for your kitchen?

If your cabinet boxes are structurally solid no water damage, swelling, or falling-apart joinery and it’s really just the colour, finish, or general dated feel that’s bothering you, spray painting is very likely worth serious consideration before jumping straight to a full renovation quote.

Interior paint colour trends for 2026: What Geelong homeowners are choosing

Warm, grounded neutrals are replacing cool greys

The stark grey trend of the last decade has softened. We’re seeing a lot more warm whites, soft grey & beige, and putty tones colours that feel calm and current without the slightly cold, clinical look that pure grey can bring, especially in Geelong’s cooler months.

Earthy greens for feature walls and cabinetry

Deep, muted greens think olive, sage, and bottle green have become a favourite for kitchen cabinetry, front doors, and single feature walls. They pair beautifully with natural timber and brass fixtures, which are also having a moment locally.

Warmer whites over stark whites

Ceilings and trims are trending away from bright, blue-based whites toward softer, warmer whites. It’s a subtle shift, but it makes a noticeable difference to how a room feels, particularly paired with natural light coming off the bay.

Bold colour in smaller, contained spaces

Rather than committing a whole living area to a bold colour, homeowners are getting more adventurous in smaller spaces powder rooms, entryways, and studies where a deep navy, terracotta, or charcoal can make a real statement without overwhelming the whole home.

Durable, low-sheen finishes for family homes

With more people prioritising practicality, washable low-sheen and matt finishes remain the most requested for living areas and hallways, especially in homes with kids or pets, since they hide everyday marks better than high-gloss finishes.

Not sure what will suit your home?

Trends are a great starting point, but the right colour depends on your home’s light, layout, and your own taste. We’re happy to talk through options and even provide sample swatches on your walls before you commit to a full room. Reach out any time to chat through your project.

5 Signs It’s time to repaint the exterior of your Geelong home

1. Fading and chalking

If your paint colour looks noticeably lighter than it used to, or you run your hand along the wall and it leaves a chalky residue on your fingers, that’s UV damage breaking down the paint’s binders. It’s one of the earliest and most common signs of a coating reaching the end of its life.

2. Cracking

Small cracks that spread into a pattern resembling crocodile skin usually mean the paint has become brittle with age. Left alone, this lets moisture in behind the surface, which can lead to more expensive problems like rot or peeling.

3. Peeling or bubbling paint

This is often a moisture issue sometimes from the paint job itself, sometimes from a leak, blocked gutter, or poor ventilation behind the wall. Either way, peeling paint is rarely just cosmetic it’s usually your home telling you something underneath needs attention too.

4. Visible salt or mineral staining

Homes closer to the bay or the coast can develop a white, powdery salt residue on exterior surfaces. Beyond looking untidy, prolonged salt exposure accelerates paint breakdown, so coastal Geelong properties often need repainting slightly more often than homes further inland.

5. It’s been 7–10 years (or longer) since the last paint job

Even paint that still looks reasonable can be past its protective best. Quality exterior paint typically holds up for around 7–10 years in a coastal climate like ours, depending on aspect, sun exposure, and surface preparation at the time. If it’s been longer than that, it’s worth at least getting an inspection.

Thinking about a repaint?

A fresh exterior coat does more than lift kerb appeal it protects timber, render, and cladding from the elements that Geelong throws at it. If you’re seeing any of the signs above, get in touch and we’ll take a look and give you an honest assessment of what your home actually needs.

What Is Venetian Plaster? A Guide for Geelong Homeowners

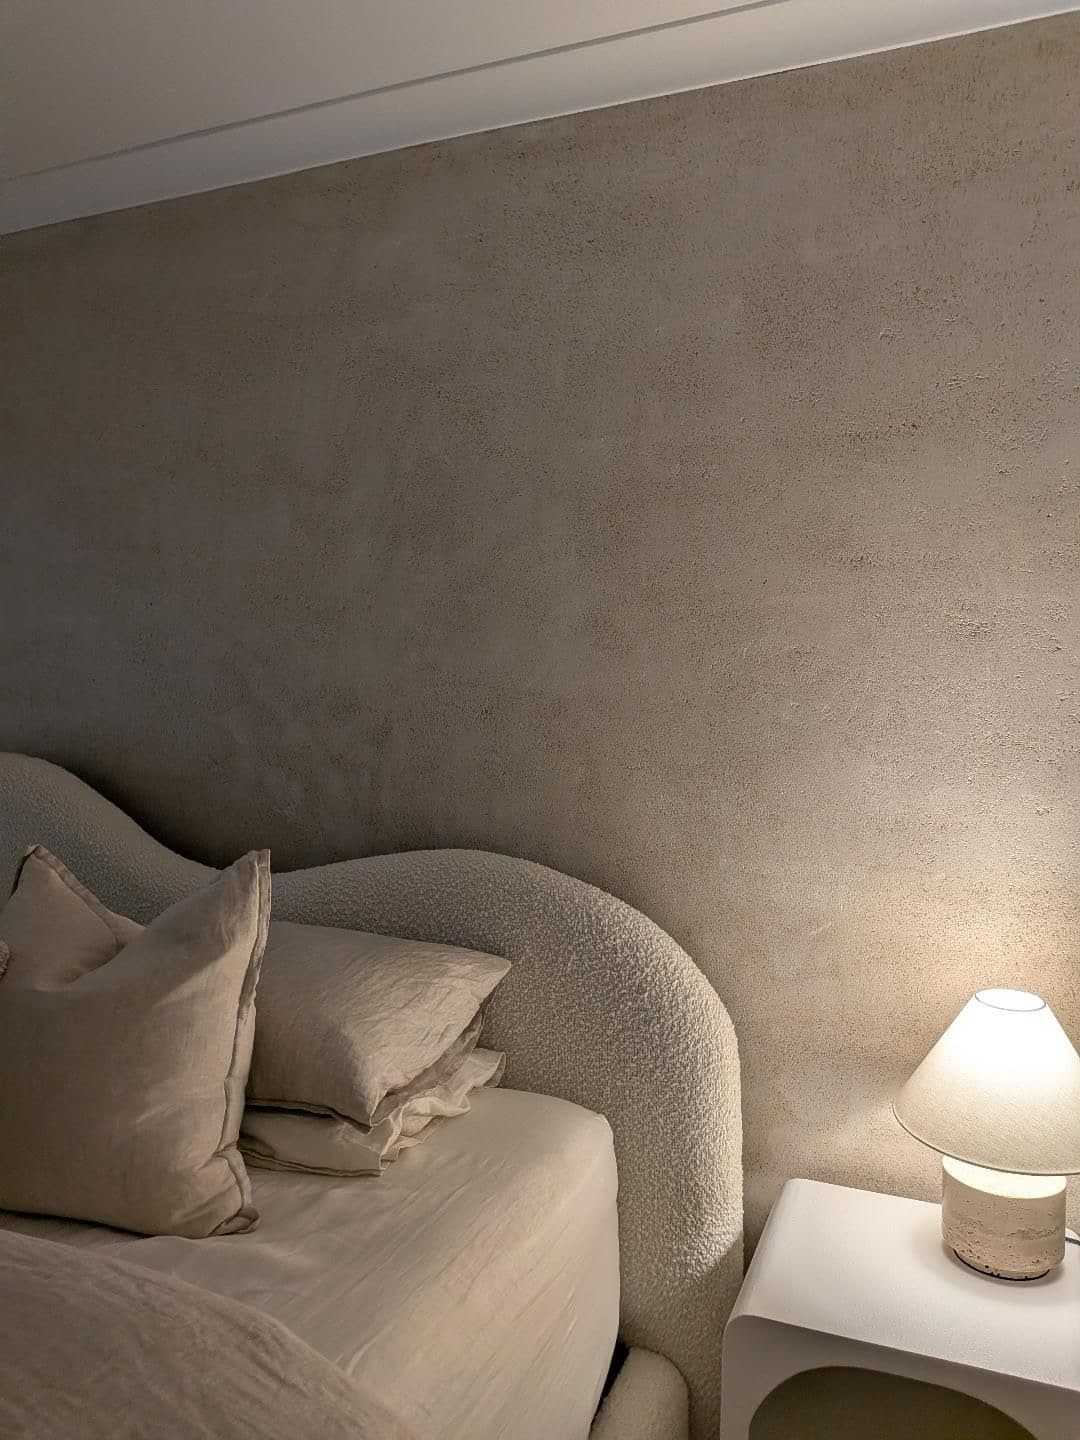
If you’ve been scrolling home renovation content lately, you’ve probably seen it a soft, textured, almost stone-like wall finish that catches the light differently depending on where you’re standing. That’s venetian plaster, and it’s become one of the most requested feature wall treatments we do.

What Venetian plaster actually is

Venetian plaster is a lime-based, polished plaster finish, applied in thin layers and burnished back to create depth and a soft sheen. Unlike paint, which sits as a flat film on the surface, plaster is built up and worked — which is exactly why it has that layered, almost marbled quality that paint simply can’t replicate.

It’s not a new trend, despite the recent surge in popularity. The technique has genuine history in Italian plaster work going back centuries. What’s changed is that it’s found its way into contemporary Australian homes as a feature wall treatment, rather than covering entire rooms as it traditionally did.

What the process actually looks like

A proper Venetian plaster finish is applied in multiple thin coats, usually two to three passes, each one troweled on and partially burnished before the next goes on. This is what builds the depth and subtle colour variation that makes it look different from every angle and in every light.

It’s a slower, more hands-on process than painting, expect a feature wall to take a full day or more of dedicated work, depending on size and the finish you’re after. This isn’t a corner-cutting job. The character of the finish comes directly from the care taken in each layer.

Where it works best

Feature walls in living areas and bedrooms are the most popular application, since they let the finish stand out without covering every surface. Bathrooms and powder rooms are another strong choice the lime base has natural moisture resistance, which suits Geelong’s coastal humidity reasonably well when properly sealed. Hallways and entryways also work nicely, since Venetian plaster tends to look its best where natural light hits it at an angle throughout the day.

Is it right for your home?

A few honest things worth knowing before committing:

It’s a considered investment, not a quick weekend project. The multi-coat process and skill involved mean it costs more per square metre than paint. For a single feature wall, that’s a very manageable investment for whole rooms, it adds up quickly which is exactly why most homes use it selectively.

Properly sealed Venetian plaster is genuinely durable and, unlike paint, doesn’t crack or peel in the same way over time since it’s not a surface film. It can be lightly cleaned with a damp cloth, and any sealant can be refreshed periodically to maintain its sheen and moisture resistance. Done well, it’s a finish that can genuinely last decades rather than needing a repaint every 7–10 years like standard walls.

Because so much of Venetian plaster’s appeal comes down to how it actually looks in your specific space and light, photos only tell part of the story. If you’re considering it for a feature wall, we’re happy to talk through options, finishes, and whether it’s the right call for your room before anything is booked in.

Geelong Aberdeen Heritage

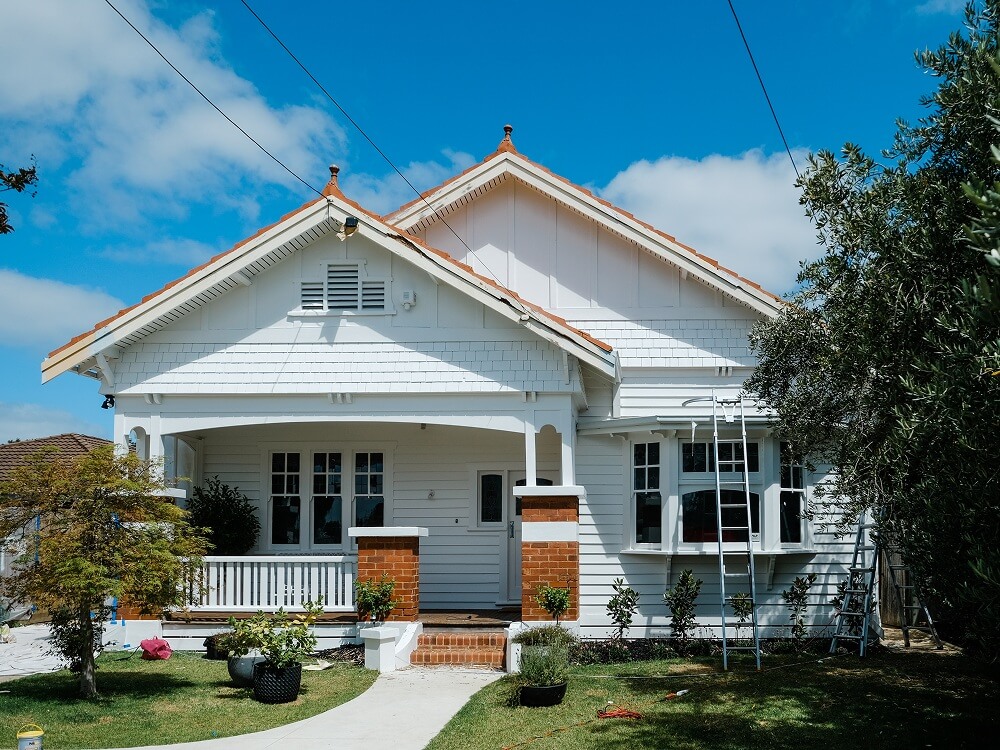
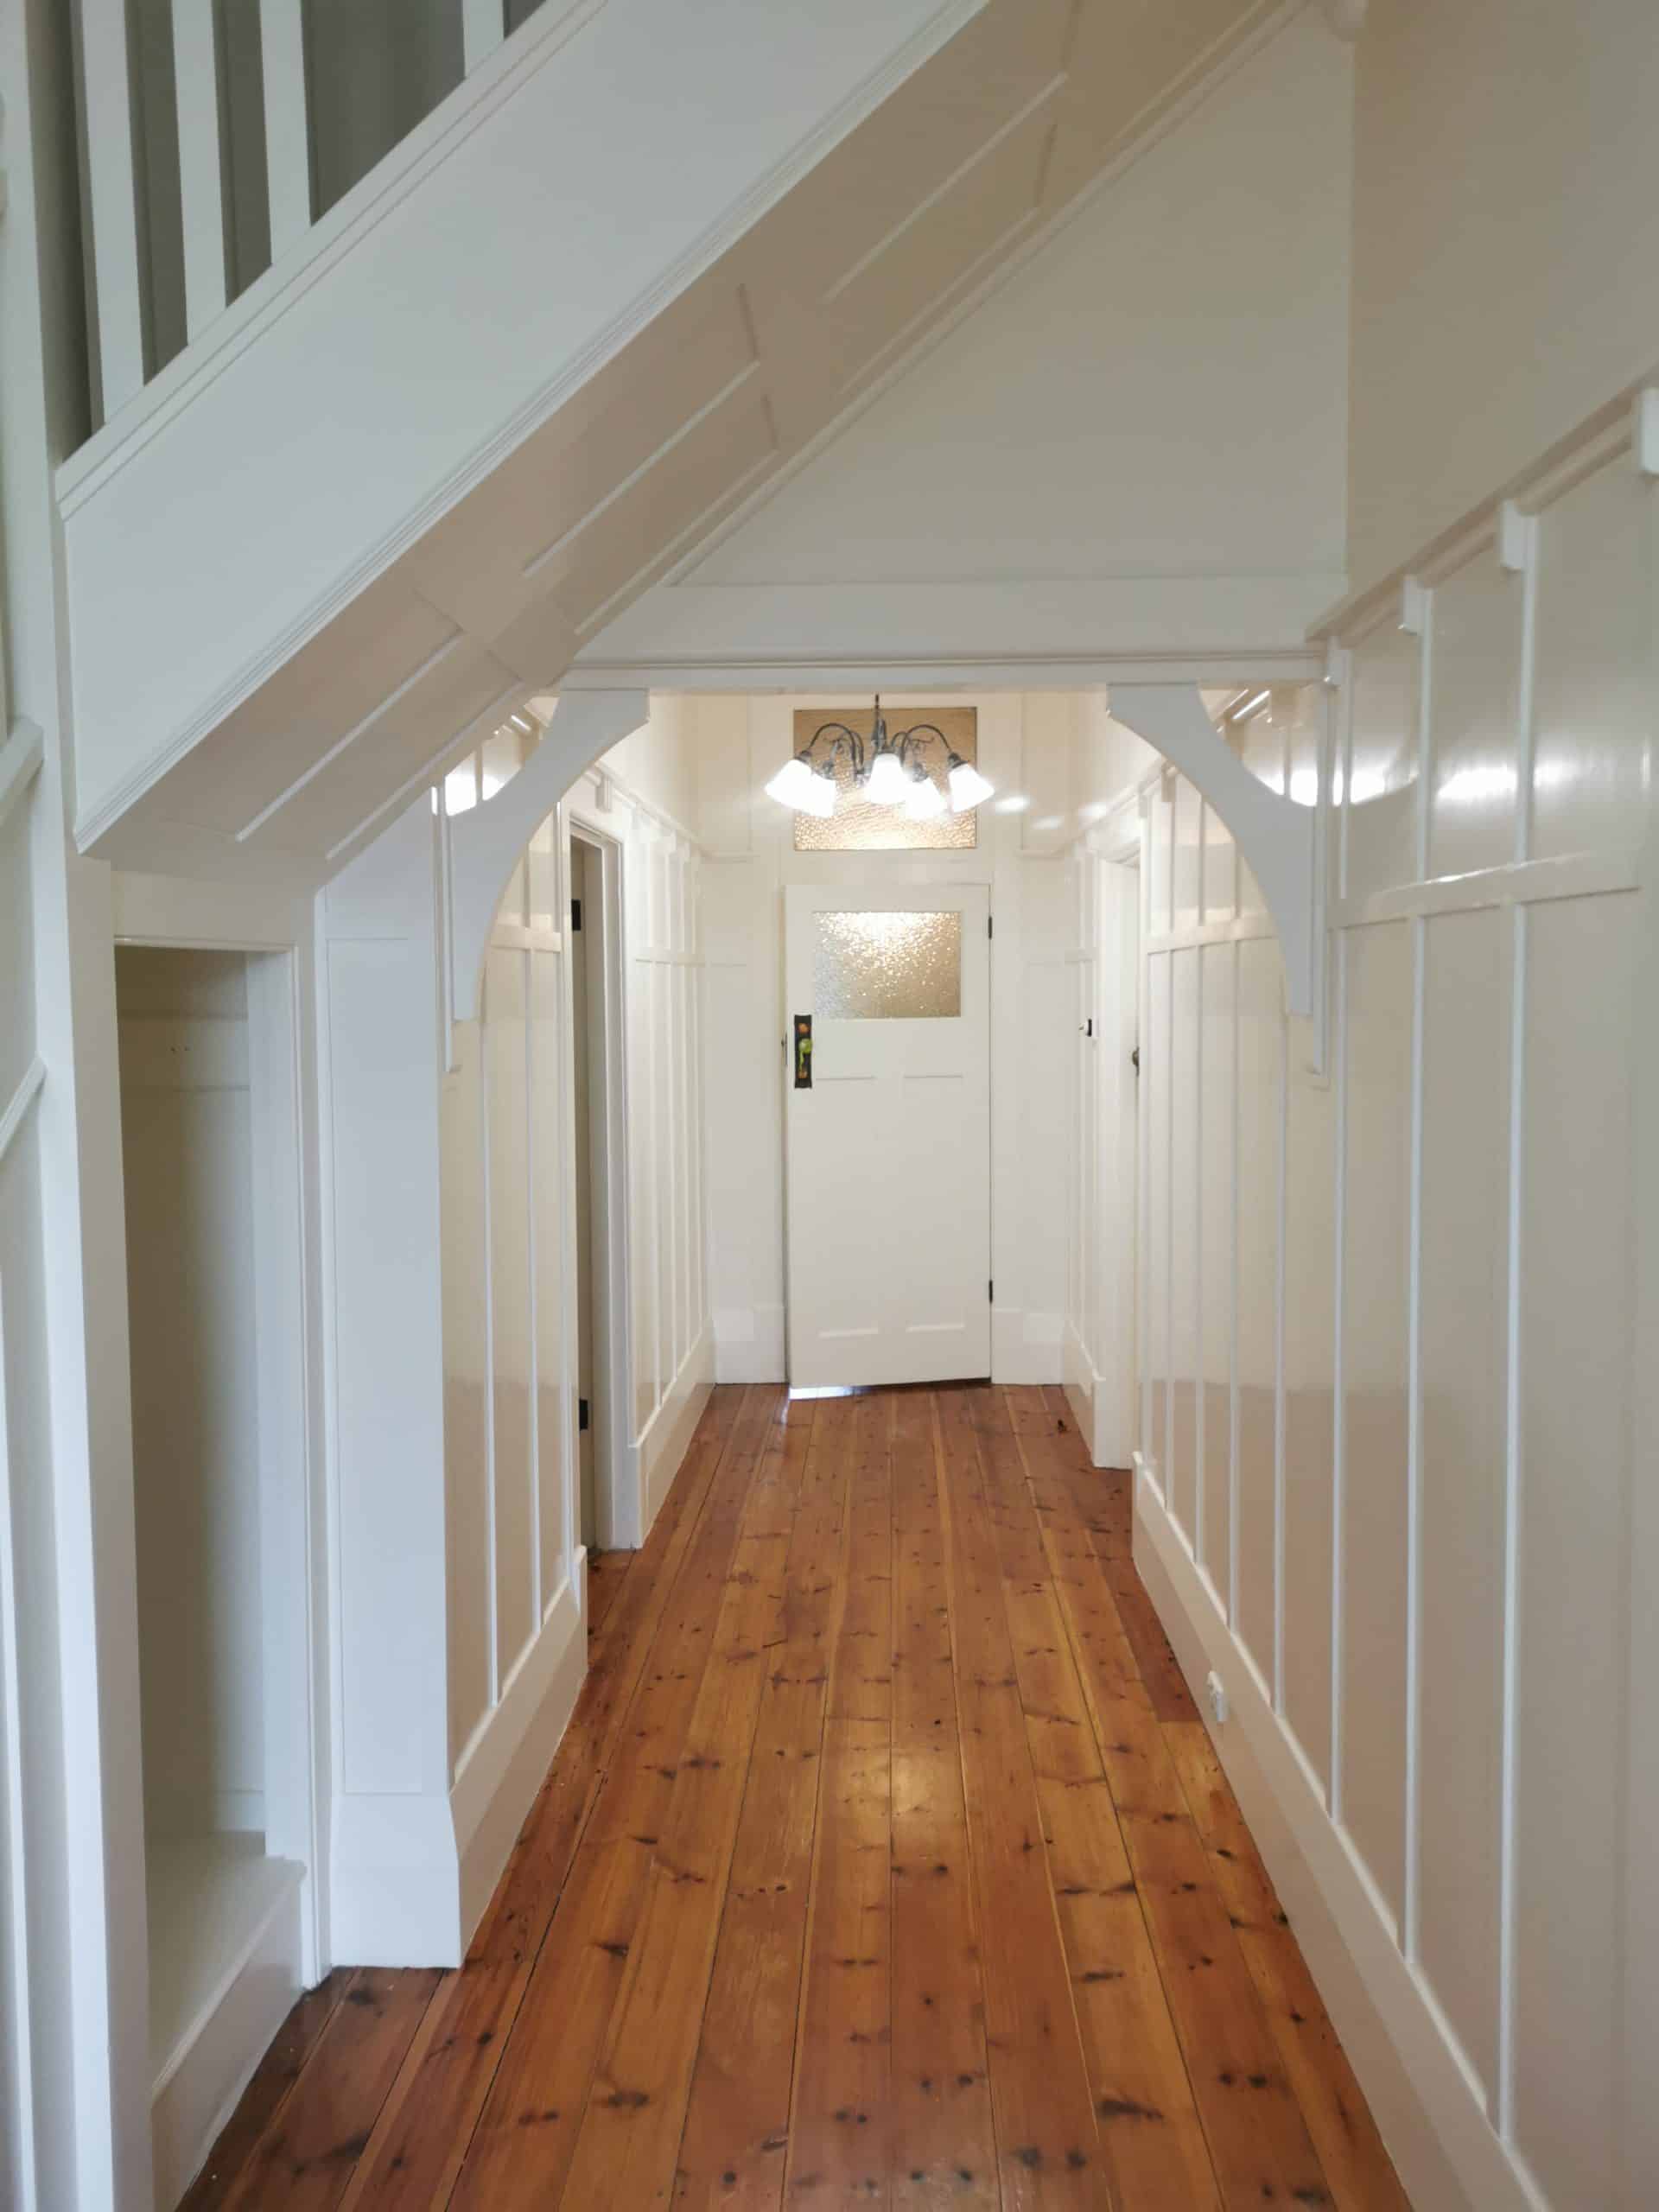
This gorgeous 102 year old heritage home was still showing it original paint job and timber staining from all that time ago. Being 102, the age of the property was showing and the project required a full rebuild from lath & plaster repairs, wallpaper removal, level 5 finish on all the walls, plus everything in-between.

What We Used

For all exposed timber we used a Haymes enamel undercoat with two coats of Resene Lustacryl Semi-gloss waterborne enamel to finish. The interior walls and ceilings were primed with Resene Quick Dry as an undercoat and finished with two coats of Resene Spacecote. in low sheen for the walls and Spacecote Flat for the ceiling.

Phone Icon
+61 481 866 615